Rotation Dolly, an attempt to control time and perspective on the cheap with some initial success but ultimate failure.
Rotation Dolly
In the previous post I determined that we needed a better camera. Which camera we would eventually choose became a research topic as these types of multi-thousand dollar decisions can not be taken lightly.
In the meantime, I decided to see what could be accomplished with the hardware everyone is now carrying around in their pockets.
The intro sequences of many television shows have rotational time lapses. How does one do that on a budget? Of course, there are a lot of commercial products that have been created but you're talking $$$ to $$$$ of dollars. There are computer-controlled rigs that allow movement on multiple axis, path programming and even auto-control based on the video input, for instance to follow an individual as they move through a scene.
I decided to build one on the cheap.
TL;DR? It works!
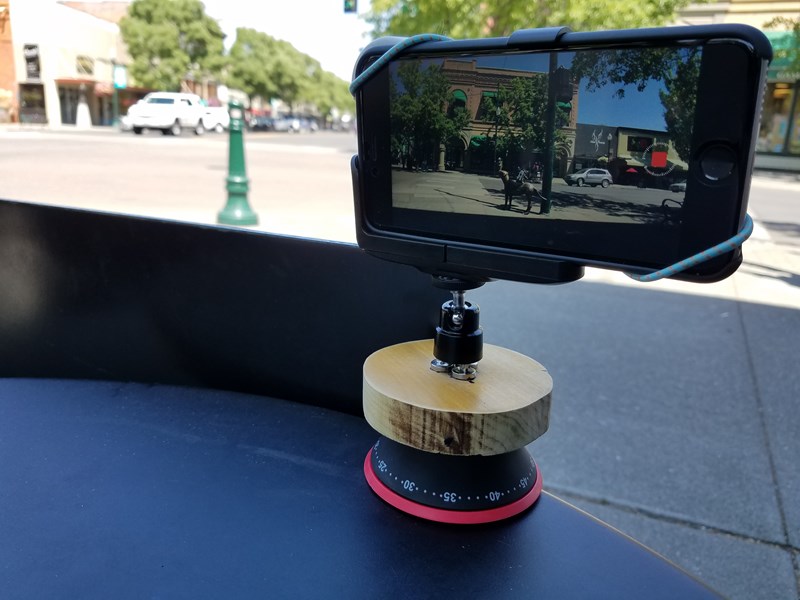
As you can see from this time lapse of downtown Walla Walla, it works fairly well.
Let's see what we can build for 10 bucks.
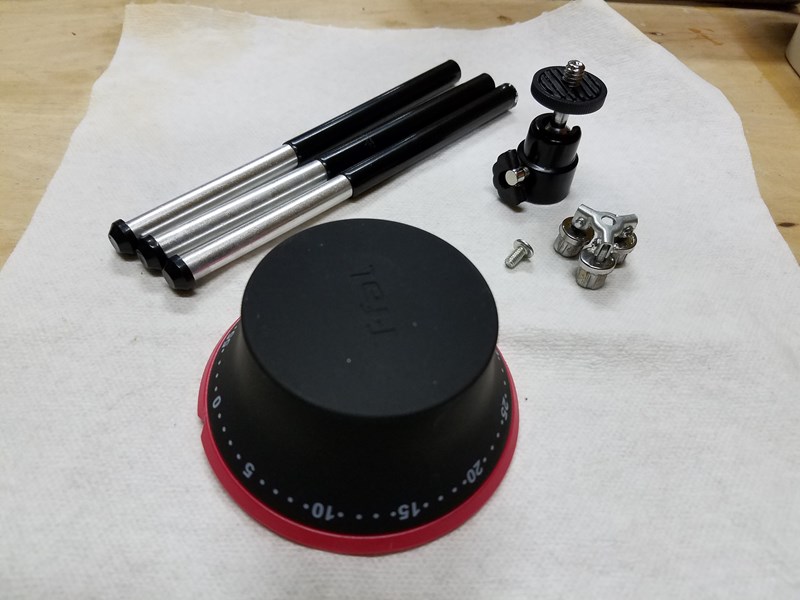
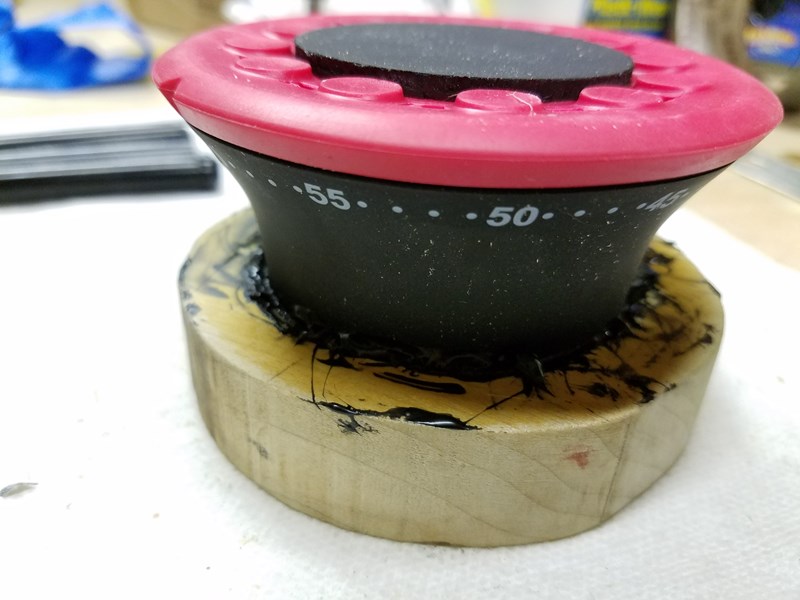
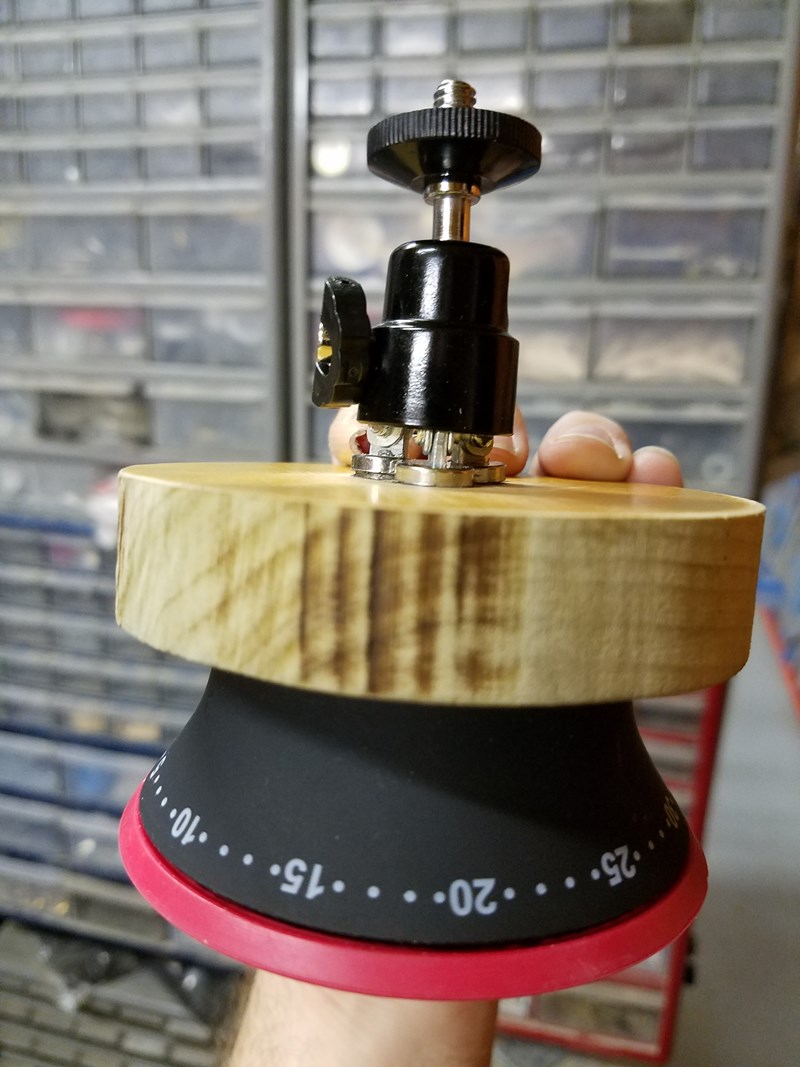
The only reason we're spending 10 bucks is because it is getting harder to find a physical egg timer at all, much less one with a flat surface. Many of them have an angled face which might be great for easier viewing of the face but it doesn't work for our purposes. This T-Fal timer seemed like it would fit the bill and it was less than $10. We also had a broken smartphone tripod that appeared to be constructed in the cheapest way possible, which "coincidentally" was the reason that it was broken.
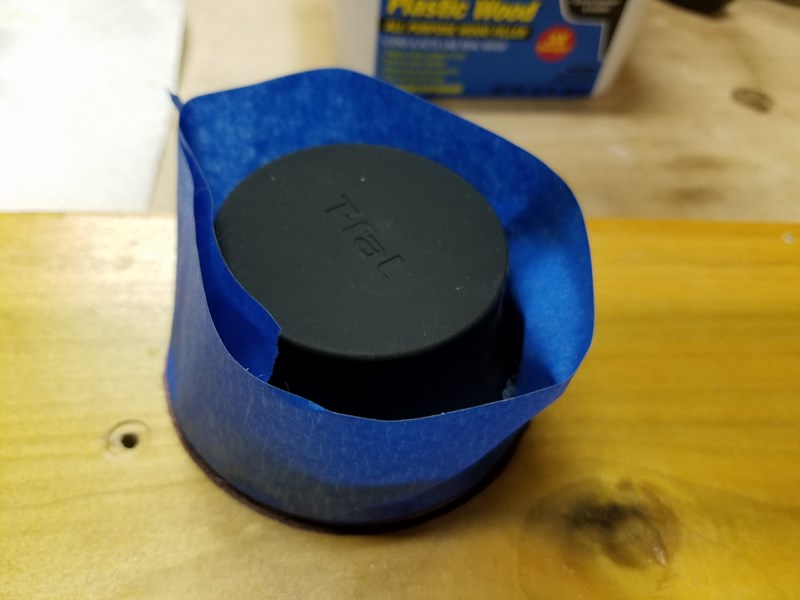
Let's grab a piece of blue tape and a piece of reclaimed wood, make some marks and fashion a relationship between these two pieces.
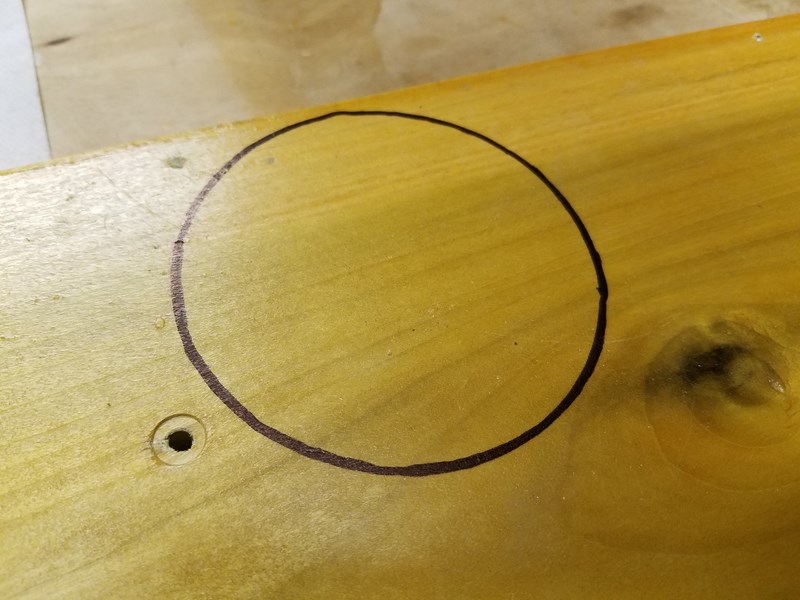
We marked your basic run-of-the-mill circle using the base of the egg timer and then extracted the piece using a band saw. Unfortunately, we only had a wide blade, thus the friction burns. Based on this cut, we decided to buy a scroll saw that will make future cuts likes this much easier.
Make some lines with a compass so that we can find of the center of the inner circle.

Made a couple more lines just because it looks nice.

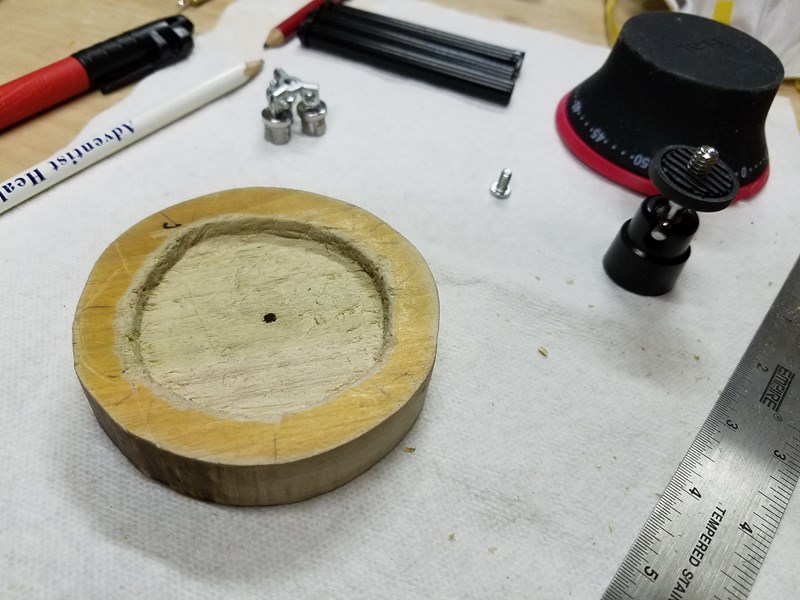
There are probably lots of really good ways to remove the wood, such as a CNC router that we don't own. So, we used the drill press to do a rough extract of the material.
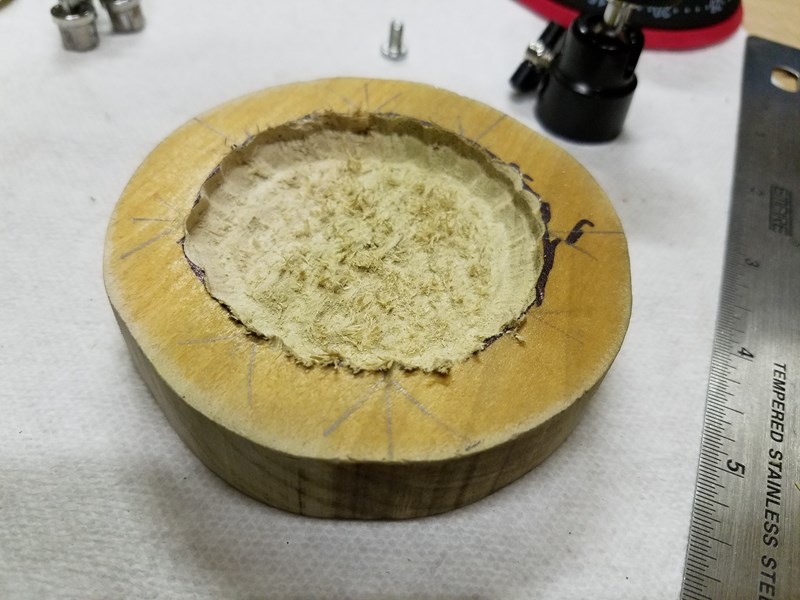
With some chisels and sandpaper, the rest of the material was extracted. It's not perfectly round but all we need is enough space to center the egg timer.
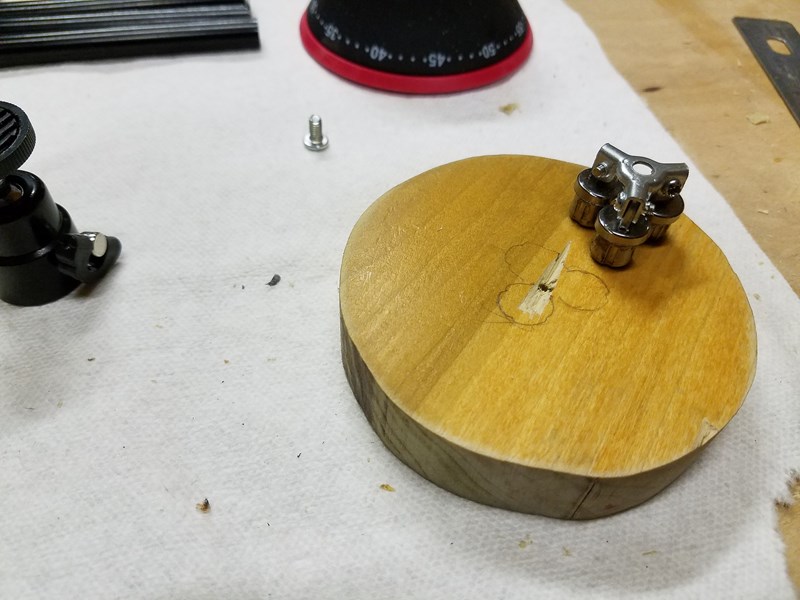
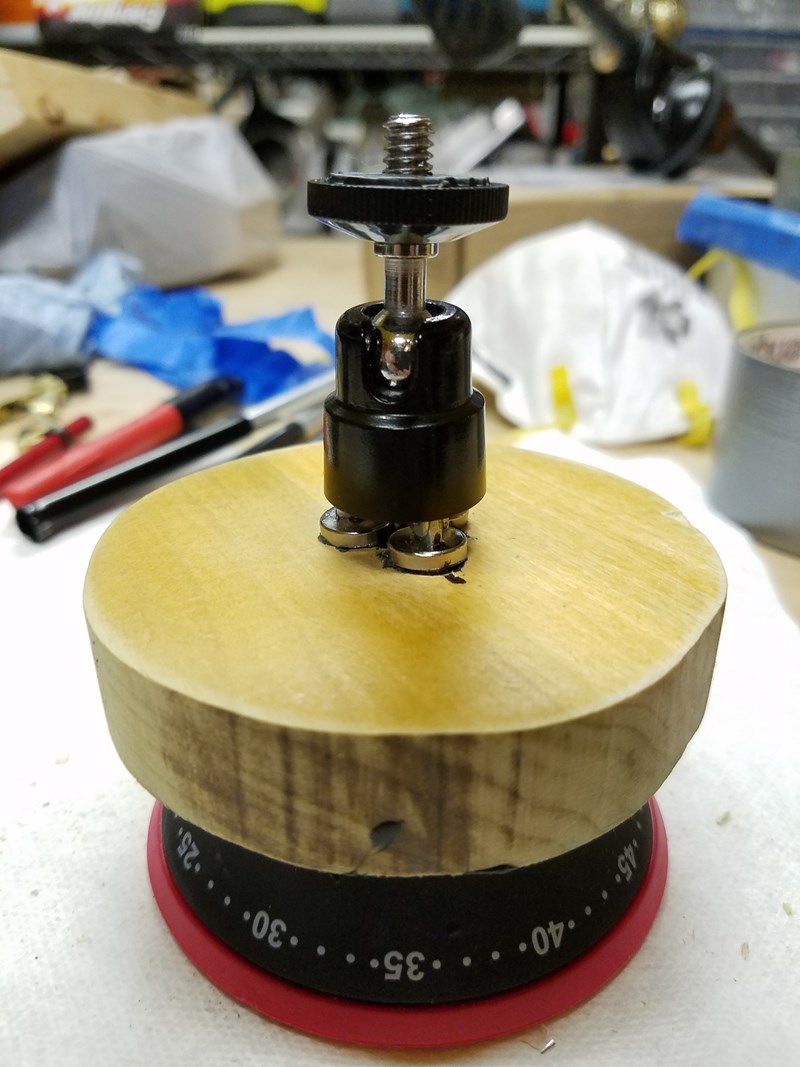
Next, we mark the location of the camera mount.
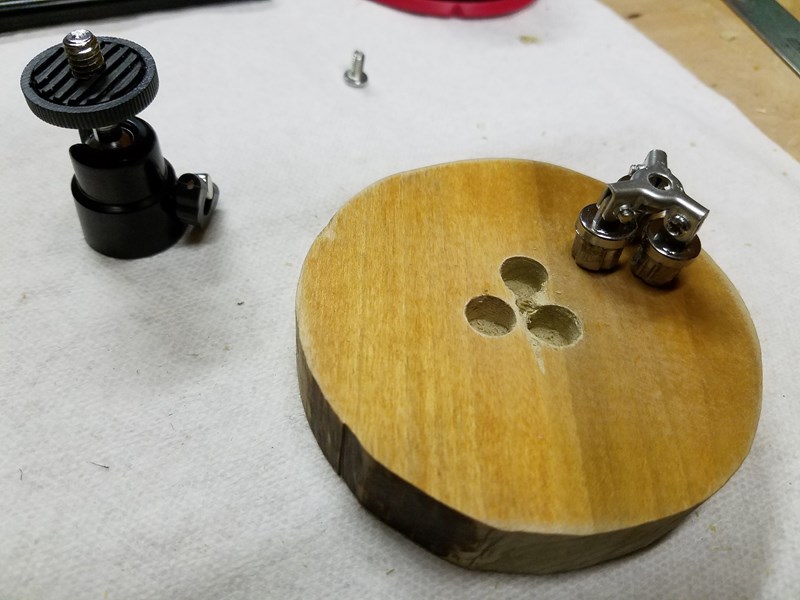
Drill a couple of holes.
Dry fit.
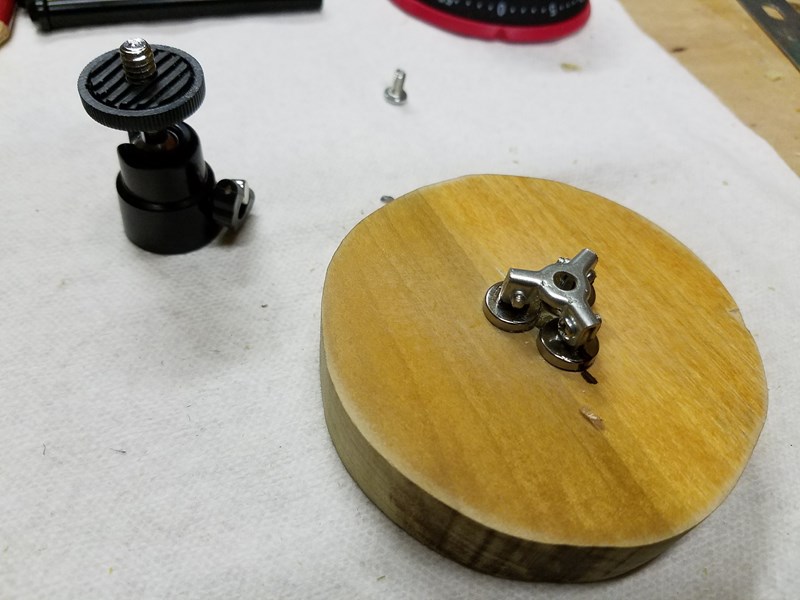
The previous joints were held in place by compression, forced into the aluminum legs.
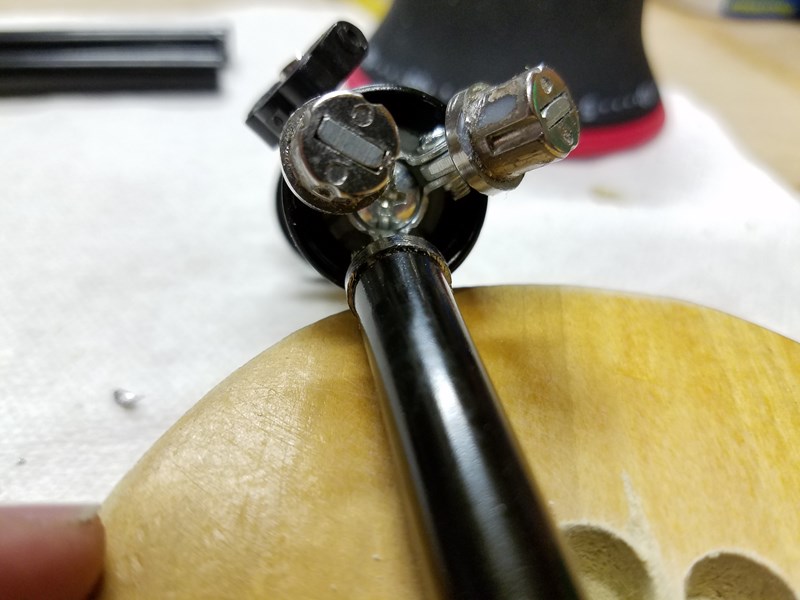
It fits.
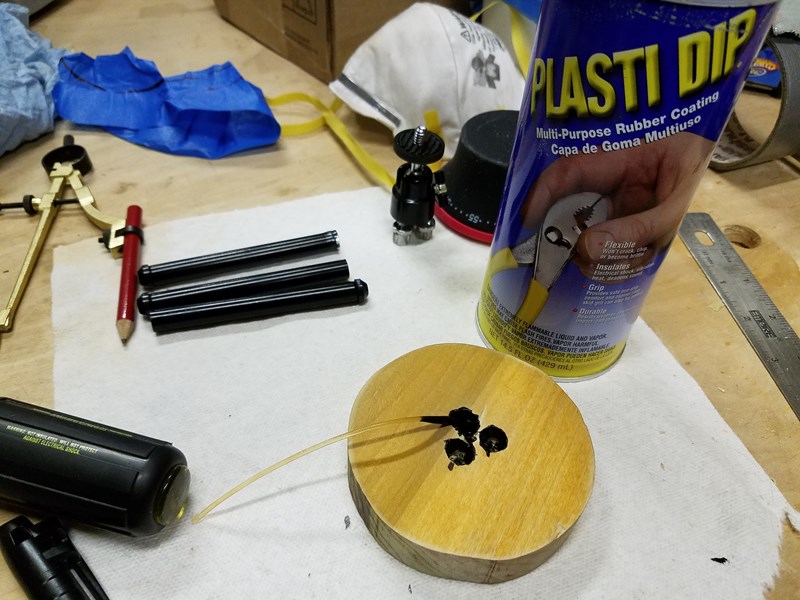
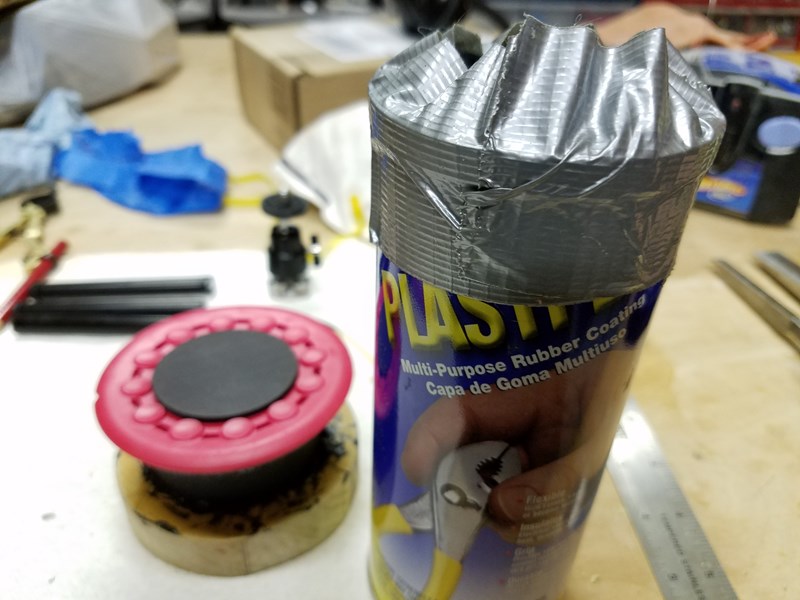
We decided to use PlastiDip which is a quick-drying rubber and a versatile product. Applying it with a piece of 3d printing filament gave a proper degree of control creating a thin wall of rubber around the hole to grip the camera mount.
Next, we added PlastiDip to the other side.
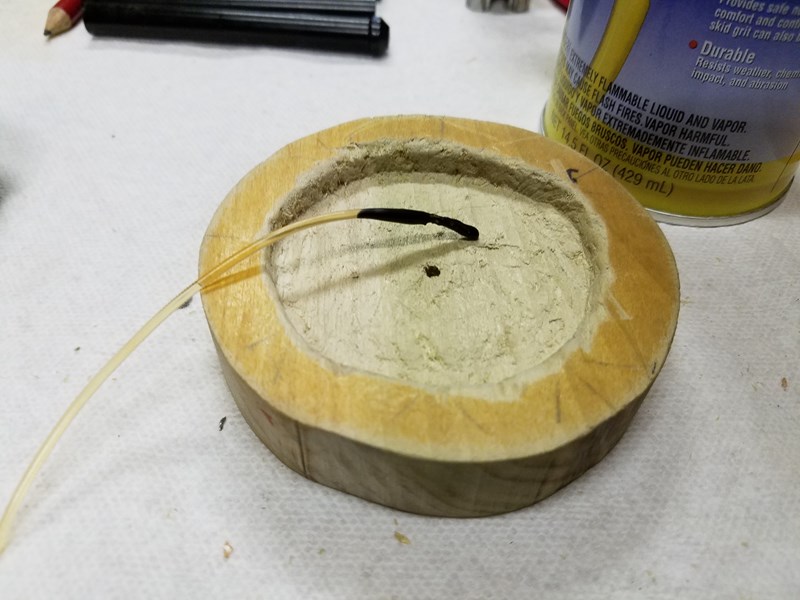
It looks like we've struck black oil but this is actually rubber suspended in a solvent.

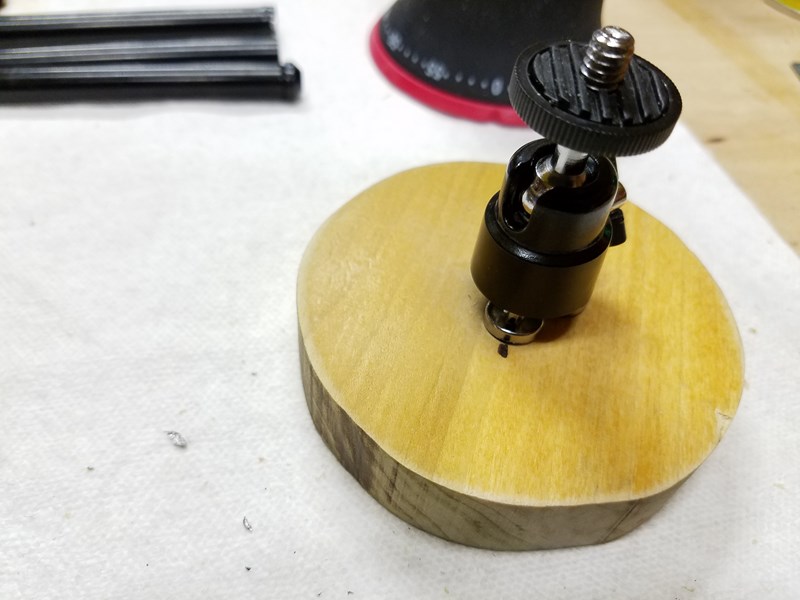
We fused it with the egg timer while still wet to create a fairly permanent bond.
Remember to seal the PlastiDip as fully as possible. The cap that comes with it will protect it for a few days. A duct tape seal will give you a couple of weeks.
It turns out we didn't need the legs from the cheap tripod. We'll save those for a future project.
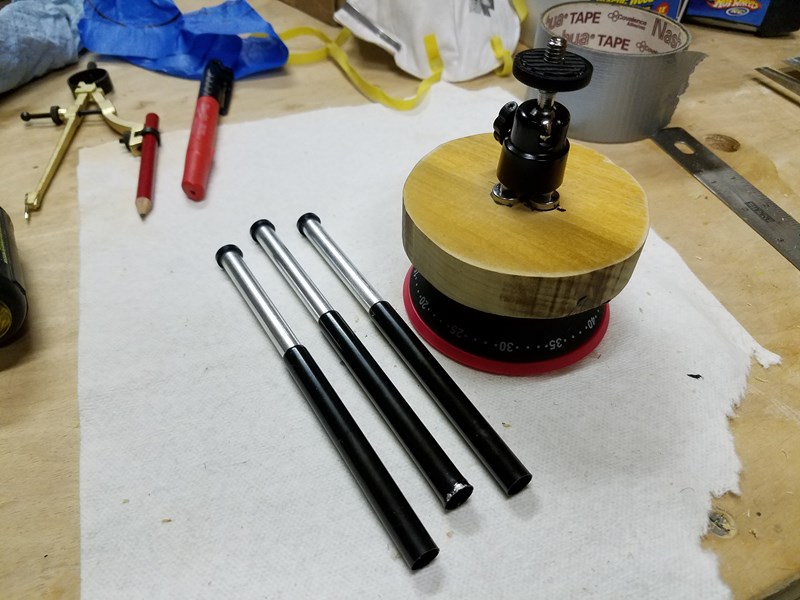
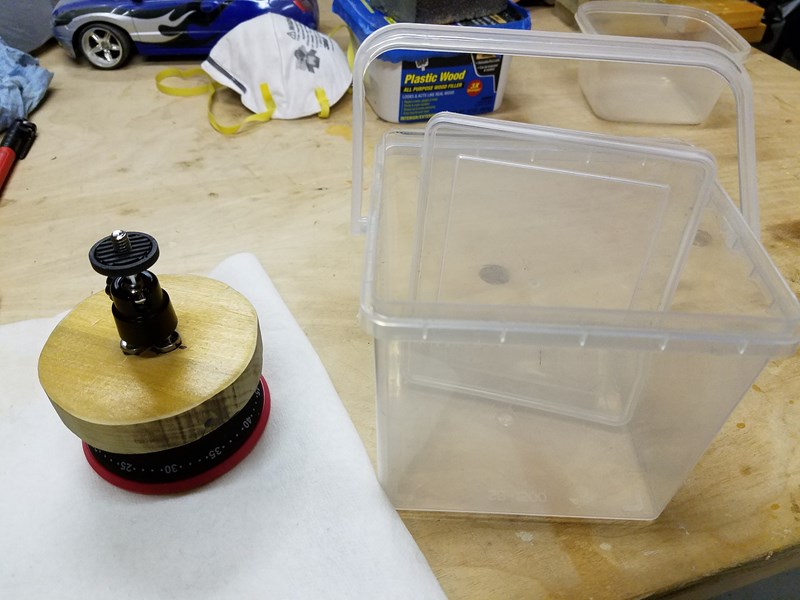
And...we have our finished Rotation Dolly.
Everything deserves a case but this is a test item, so we're not going to get too crazy. Let's use the left-over container from some decking screws that we used building the greenhouse. We're going to talk about that project later.
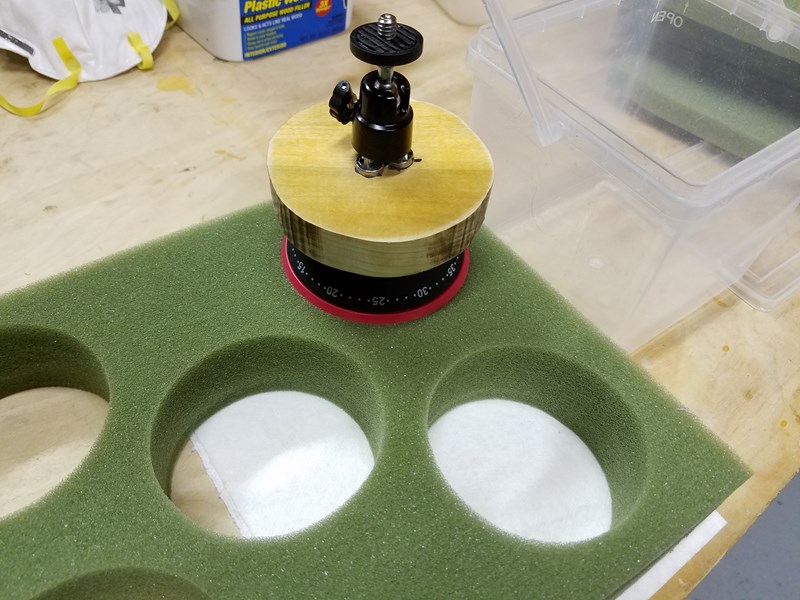
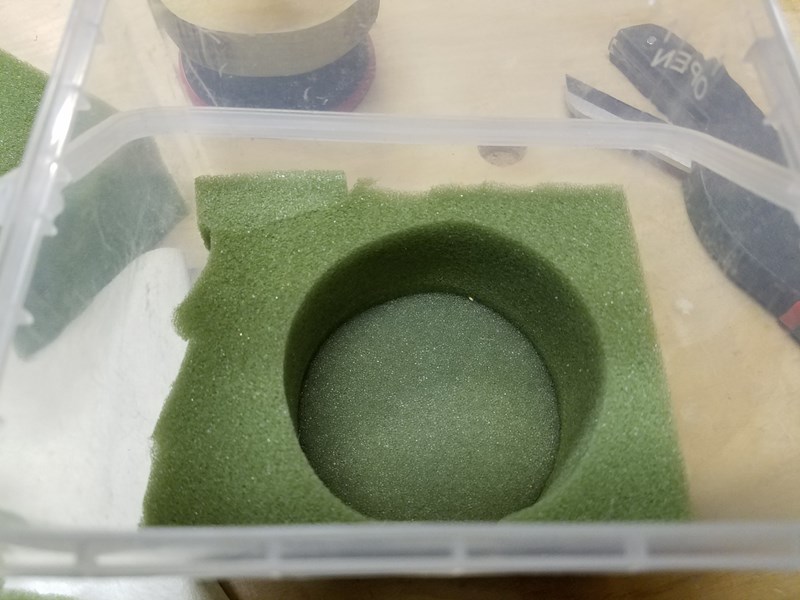
This foam from a Harry and David fruit basket is going to work perfectly. It's even the correct circumference!
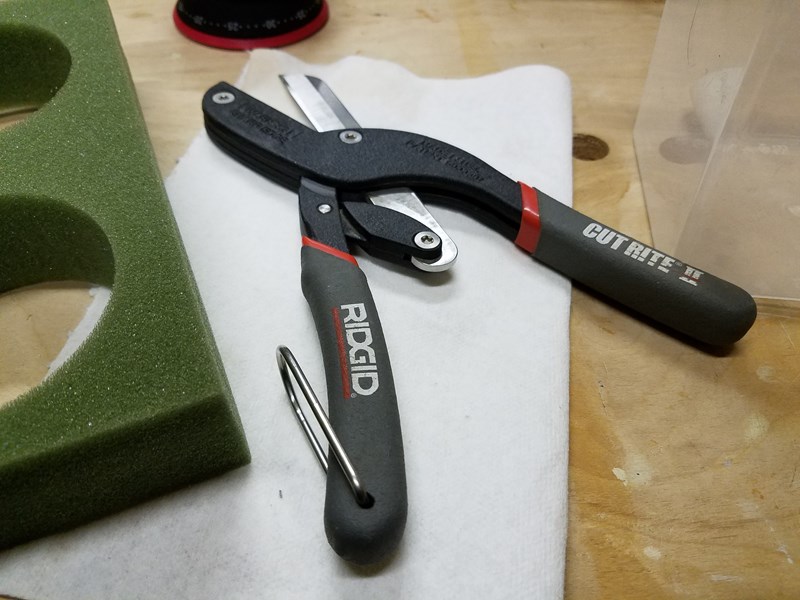
The correct tools make cuts easy.
Give it a little padding.
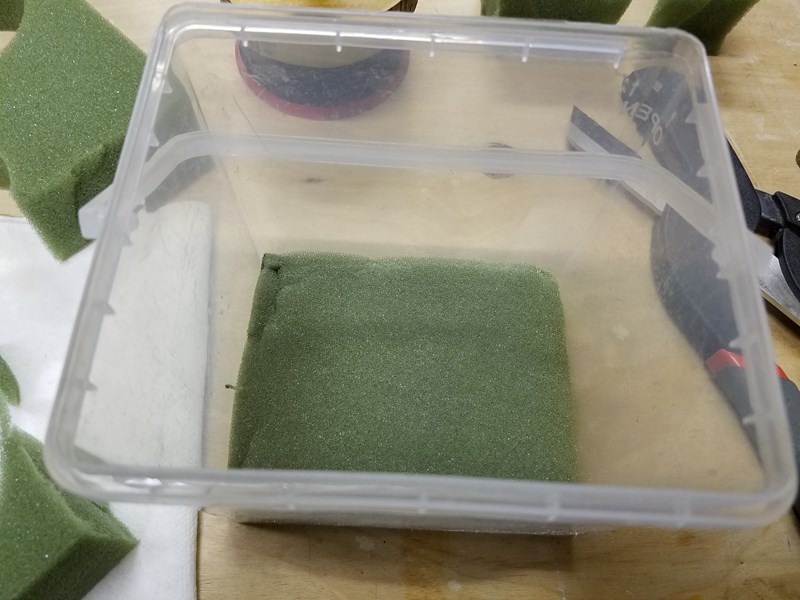
Toss in a piece to prevent lateral movement.
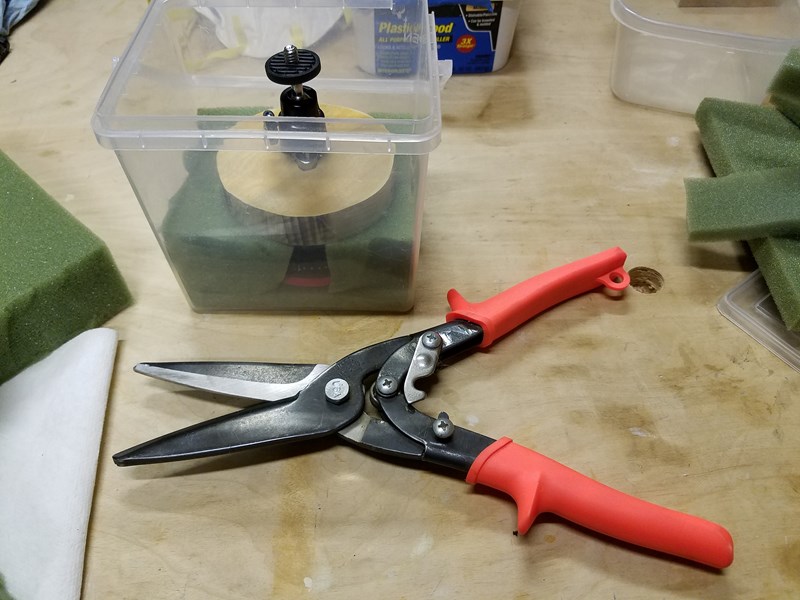
Turns out this tool works better for cutting this foam, presumably because of serrated edges.
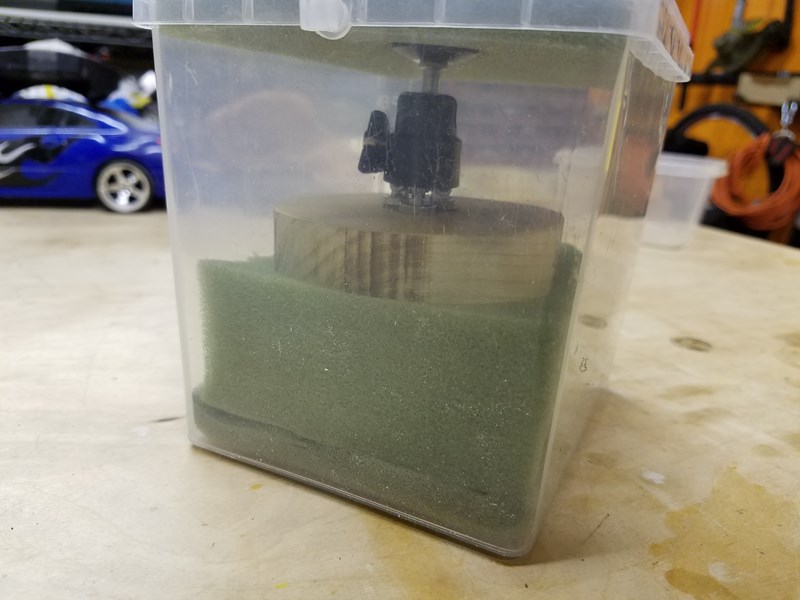
A perfect fit.
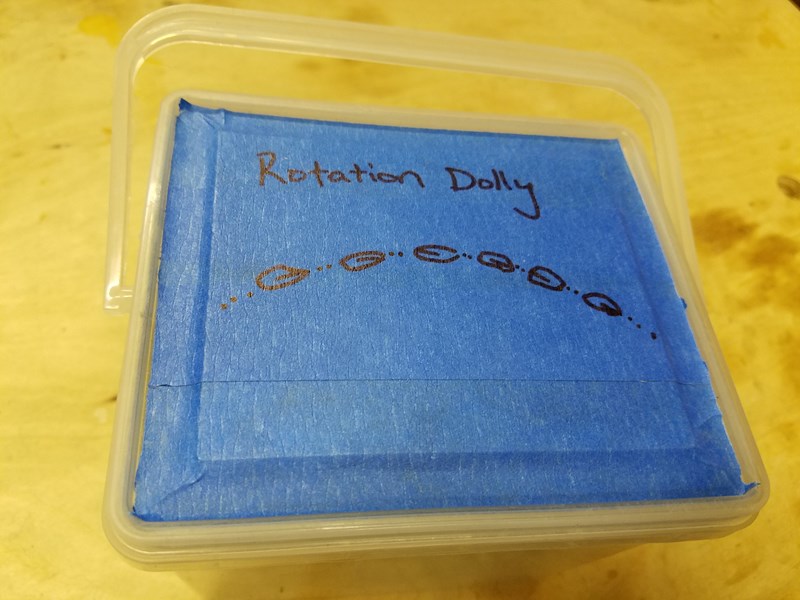
Label it (or lose it!)
Now it's time to test it out. This is the exciting part, to find out if this is even going to work!
Let's go downtown and take a video.
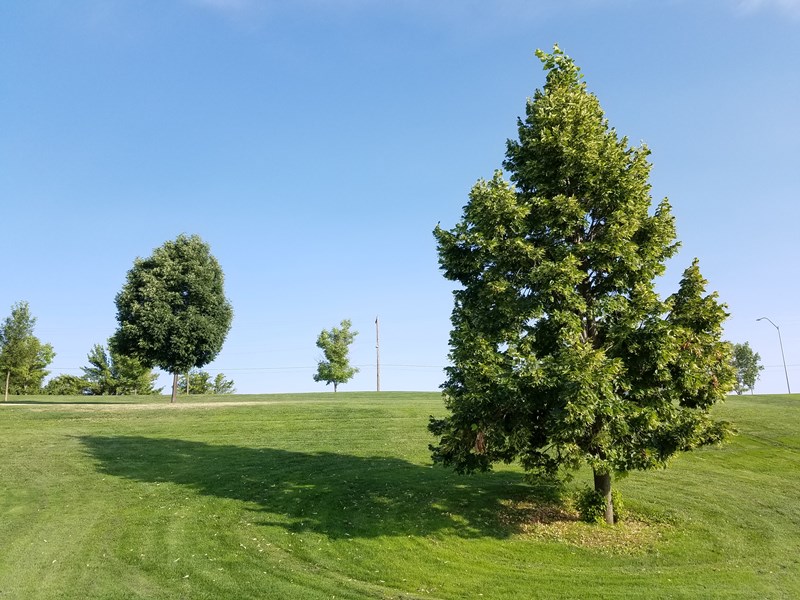
It worked fairly well, so the next stop was the park to see if we could capture some cloud movement.
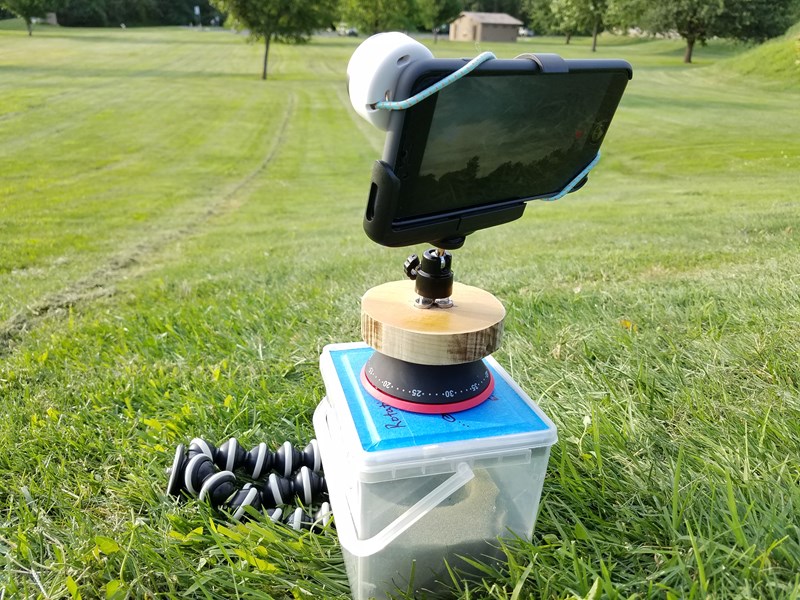
Set up the Rotation Dolly.
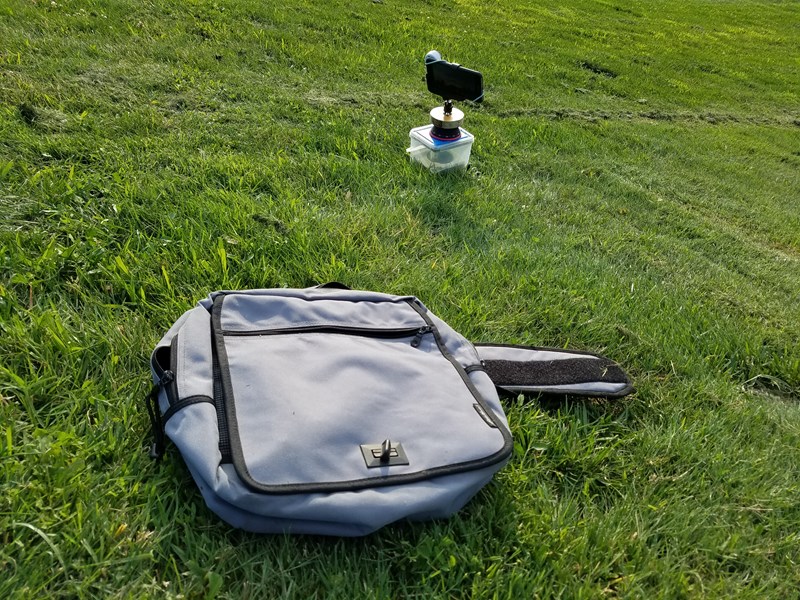
Let it work its magic using the out-of-the-box iPhone timelapse settings.
Again, this worked fairly well. Unfortunately, on the following run, its third, the spring in the egg timer gave up the ghost with a sproing. It seems that carrying around the iPhone 6 was too much weight for it. This is likely an example of a fine tolerance. As engineering has become more precise, T-Fal asked themselves the question, "What is the minimum strength of spring that we need to include in order to properly drive this timer?"
Reliability matters a lot
Ultimately, this project was a failure because the device's reliability turned out to be extremely low. If we were to try and build a second version of the Rotation Dolly, we would take some time to scrounge thrift shops until we found an egg timer from another era, somewhere between 1940 and 1970 when mechanical was king and digital watches were still a pretty neat idea.
Another option would be to go digital and use a stepper motor.
An improvement for the videos themselves might be to prevent the iPhone from making white balance decisions on the fly.